We converted a minivan to a DIY camper van that could also act as a cargo van for hauling building supplies. Not surprisingly, the most difficult part was leveling out the floor. Follow our guide to level the floor in your own van build.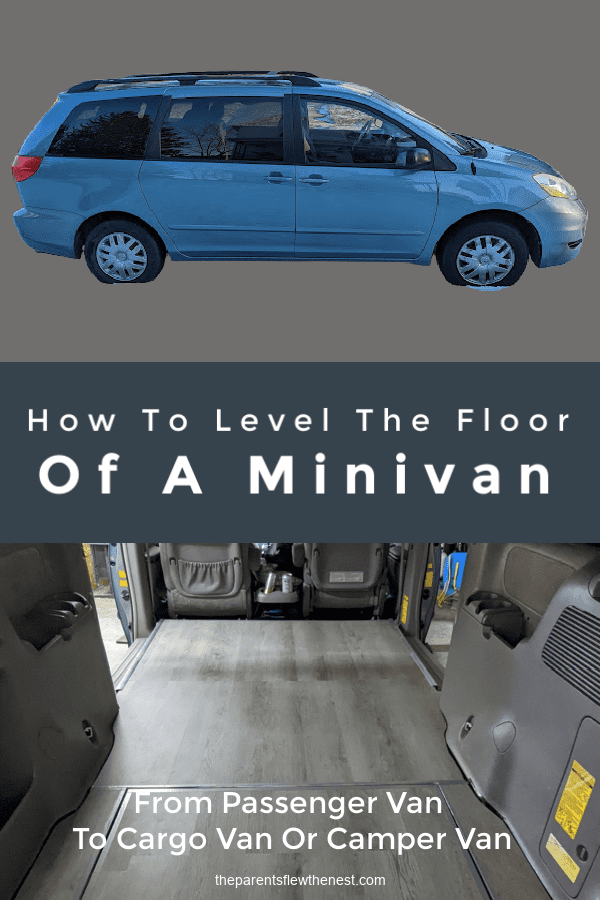
Leveling The Floor Of Our Toyota Sienna Minivan
(Links in this post are affiliate links. I will be compensated when you make a purchase by clicking those links. See the disclosure page for more information.)
When we bought this new to us Toyota Sienna minivan with less than 100,000 miles on it, even though it was over 15 years old, we didn’t see a soccer mom’s vehicle.
We saw a much less expensive alternative to a Sprinter Van. Yes, it is smaller, but it is still big enough to haul a stack of plywood to a work site. It is also big enough to sleep our daughter and her dog comfortably or even the two of us in a pinch.
It was also a lot less than a small truck, and yet it could still pull a small RV (up to 3,500 pounds) and, with the heavy seats removed, haul an impressive load (1,200 to 1,500 pounds with seats in).
Plus–the gas mileage of a minivan is pretty sweet!

We saw a vehicle we could use for a year or so as a cargo van while renovating a home, as well as a future van conversion or haul vehicle with good storage for our daughter, who was thinking of taking a long road trip right around the time we figured we wouldn’t need it anymore.
And all we needed to do to make it that vehicle was create a level floor.
Tools You Will Need To Level Out The Floor Of Your Minivan
- Tape Measure
- 72 inch Level
- Drill
- Hammer
- Jigsaw
- Sander
- Angle Grinder
- Table saw (you could use a jigsaw or circular saw with a clamped straight edge)
- Utility knife (strong enough to cut through carpet)
- Bolt cutter
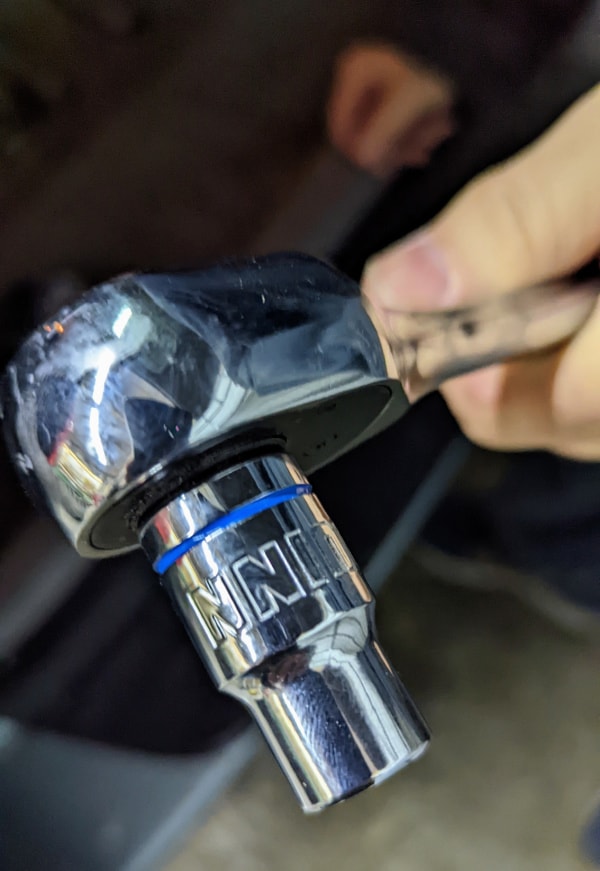
- Socket wrench
- Pencil
Supplies You Will Need To Create A Level Floor In Your Minivan
- Six 2x4s
- One 4×8 sheet of choice 1/2 inch plywood sheet (OSB)
- Screws
- The flooring you choose, i.e., carpet, vinyl flooring, etc.
Note: We did not use floor insulation of any type. If you feel like the cost of adding spray foam insulation or another form of insulation to the floor is worth it, there are other tutorials showing how to do this step in a minivan to camper conversion.
How To Permanently Remove The Back Seat Of A Toyota Sienna Minivan
The middle row of most minivans is meant to be removed. Some stow away into to floor, but that wasn’t the case with our Toyota Sienna. All we had to do was use the lever to unlock the seat and remove them. We were left with a plastic seat plate that we will show you how to remove later in this tutorial.
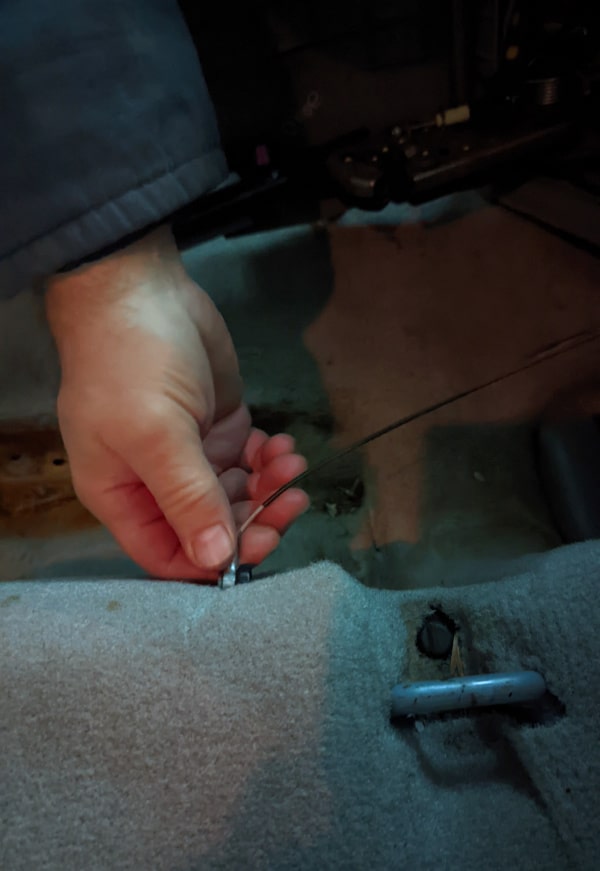
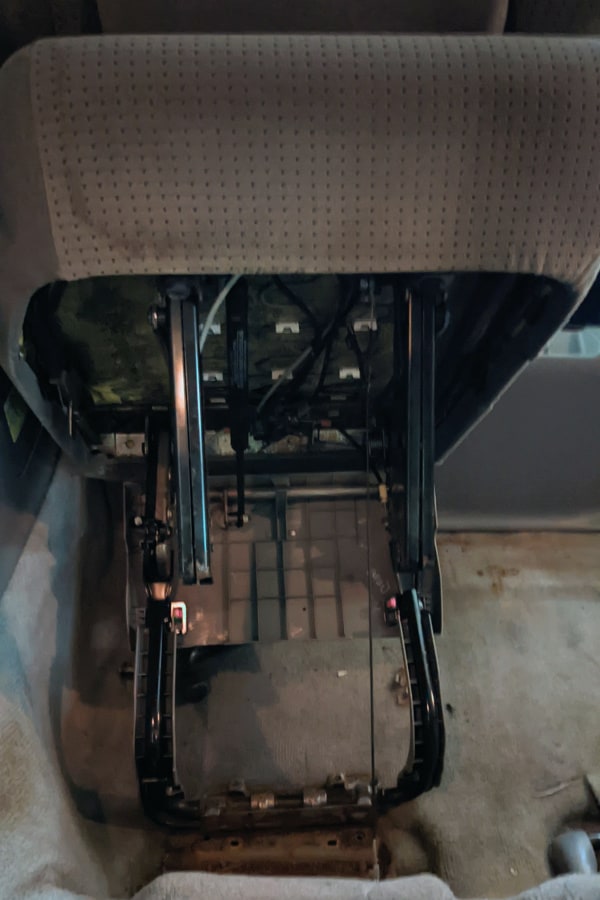
The rear bench seat does fold down but cannot easily be removed. It needed to come out as we were shooting for a completely flat floor. We removed the bolts holding the seat using a socket wrench and the appropriate socket. A fair bit of rust was present, and the bolts holding the cables could not be removed. We ended up cutting the cable with bolt cutters. The back seat could then be removed.
Below are pictures of all the steps Jack took to remove the back row.
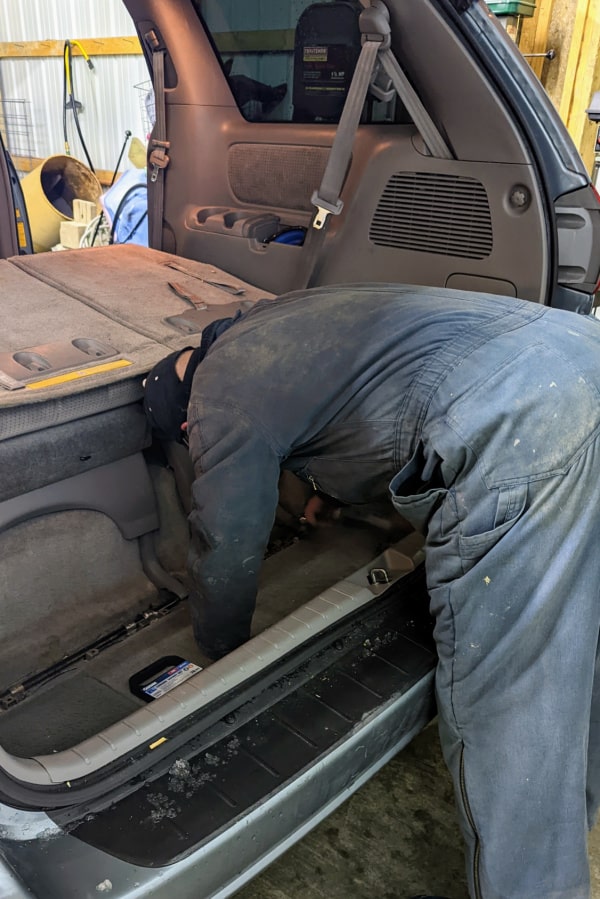
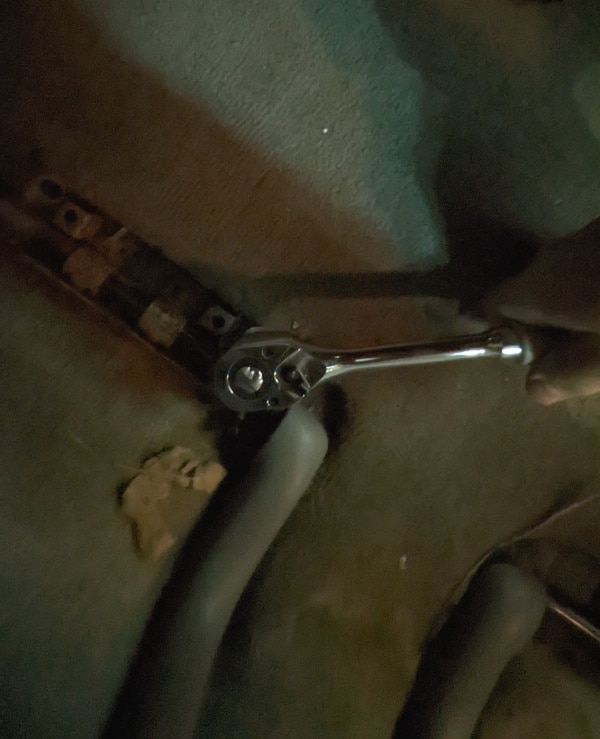
Remove The Bolts
With Bolts Removed, Give The Back Seat A Good Push
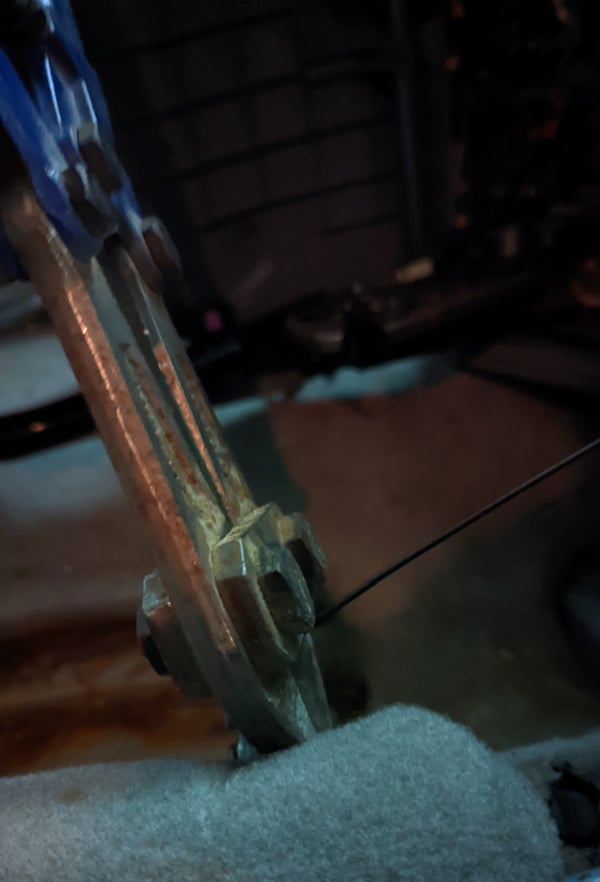
Cut The Wire
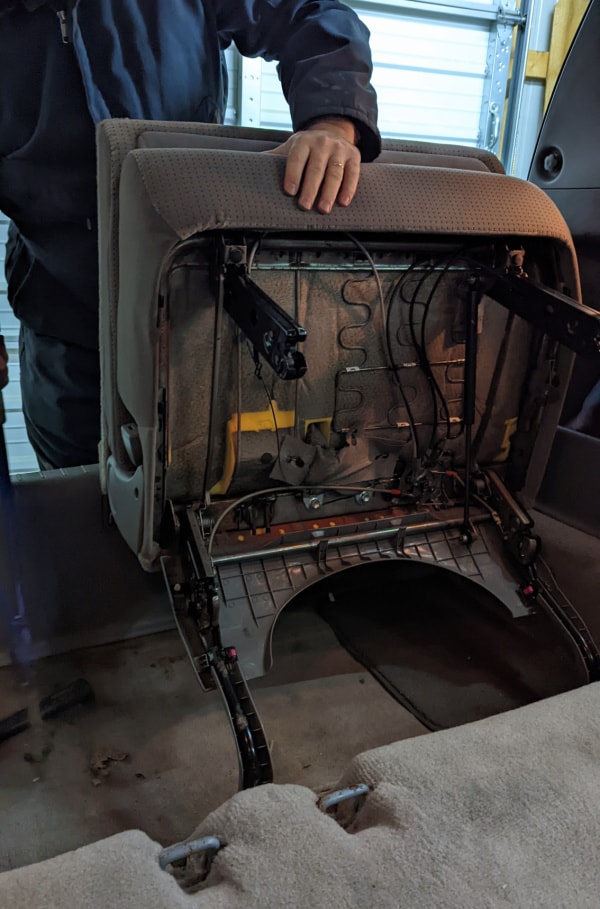
Remove The Seats
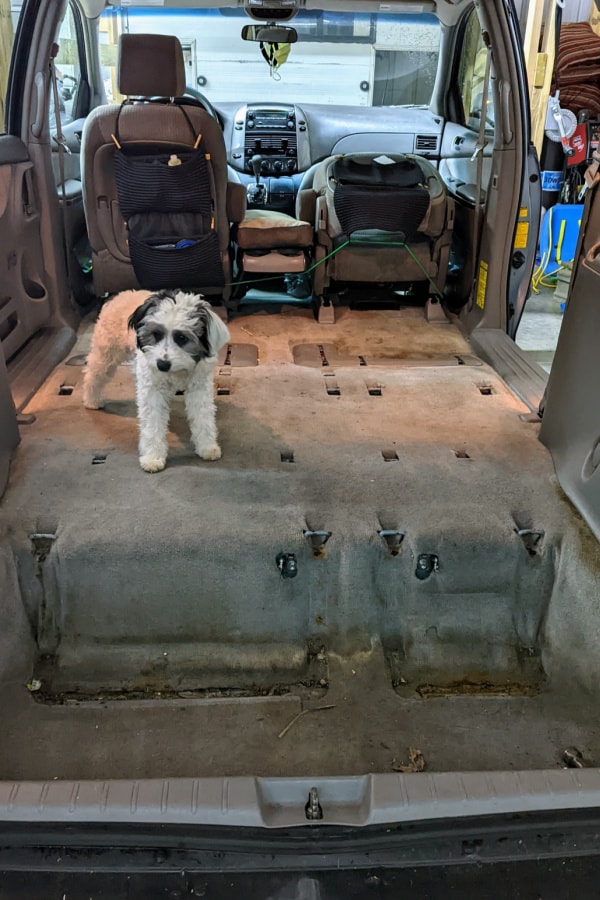
Look At All That Space! (and dirt)
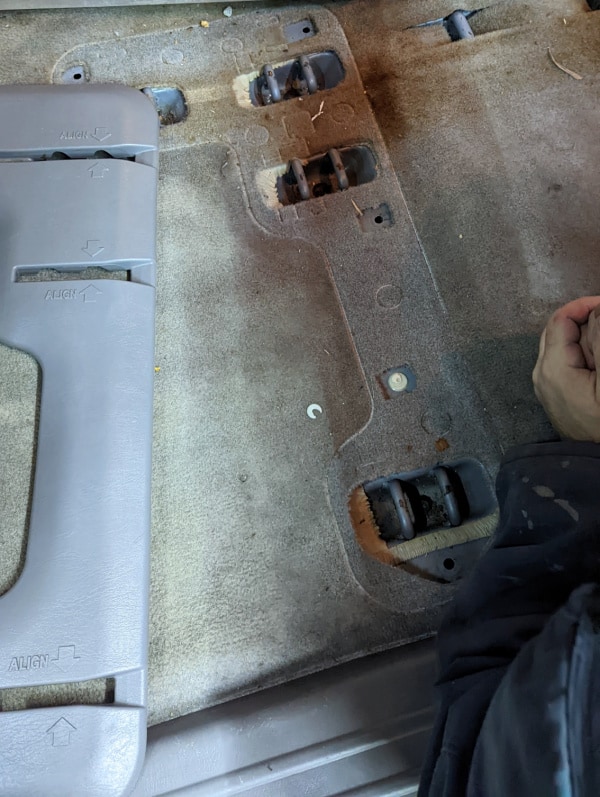
Removing the plastic covers around where the center row of seats sat
This was quickly done; they popped off with the help of a screwdriver.
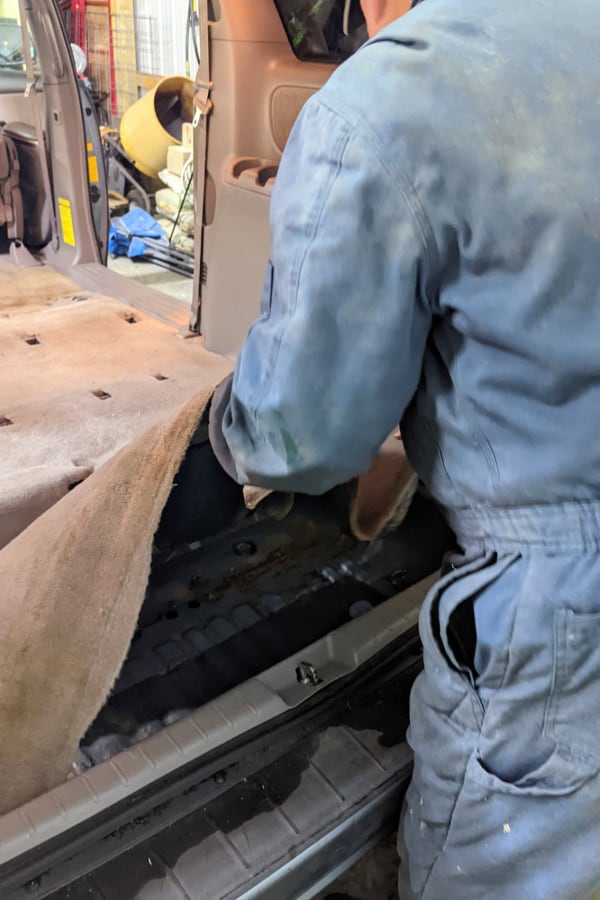
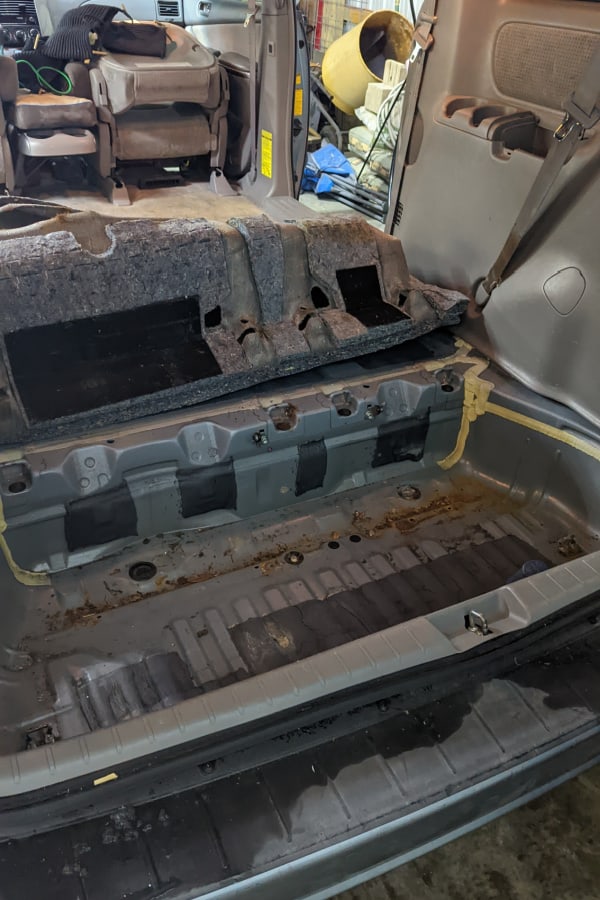
Removing the carpet from the trunk area of the minivan
The carpet was not glued down, so it came up easily.
However, we did not want to remove the carpet in the driver’s area. Since the carpet was all one piece, we needed to cut it behind the driver’s seat.
Before we cut the carpet, we put the front seats as far back as they would go and used that as the spot to end the carpet and start the new level floor.
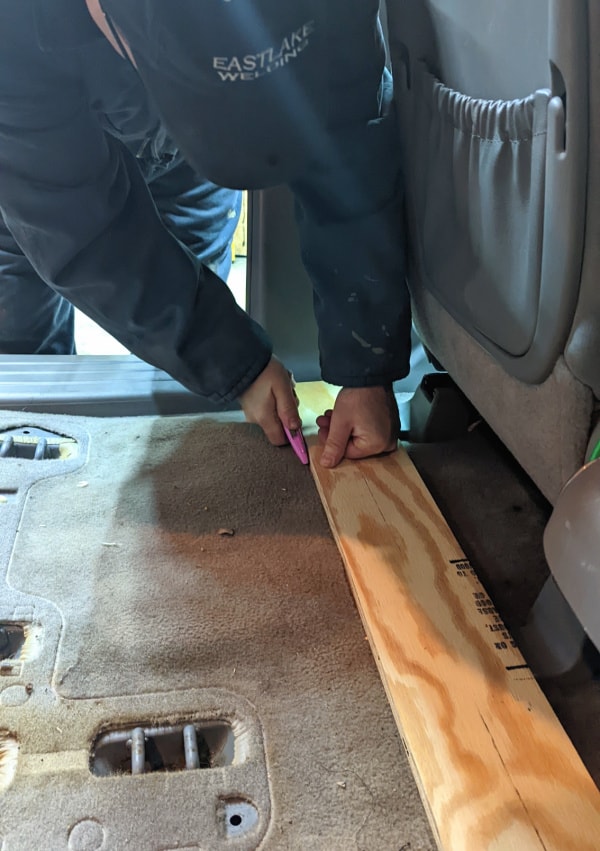
Jack used a straight edge and a utility knife to cut the carpet.
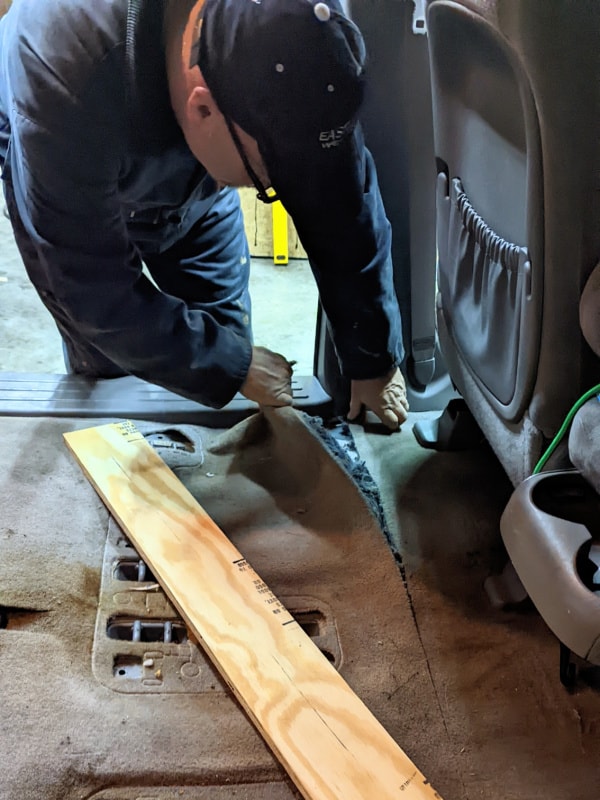
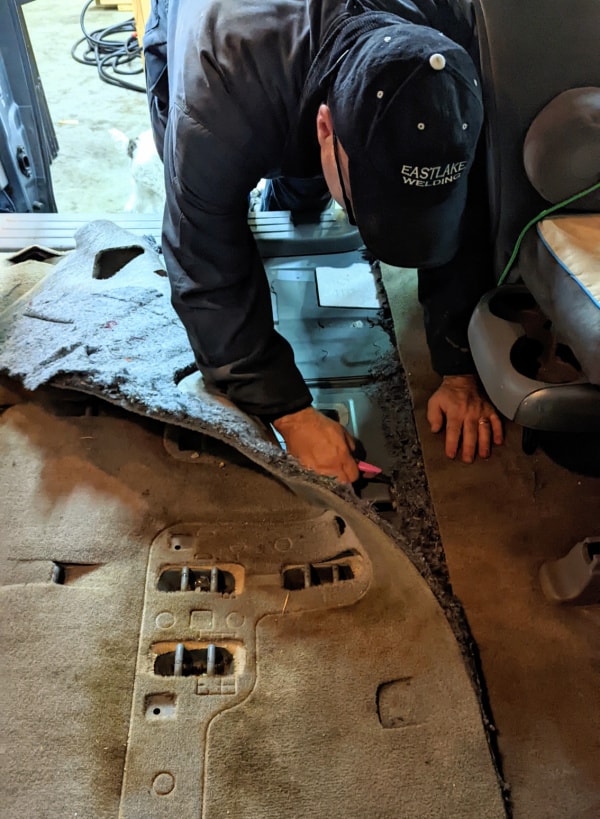
Ripping out the carpet from behind the front seats in preparation for the conversion
The carpet underlay seemed thicker in this area than closer to the trunk. To get a clean cut, Jack first cut through the top layer of the carpet and then cut the underlay portion.
After the carpet was out, he used his utility knife to clean up the edge of the carpet.
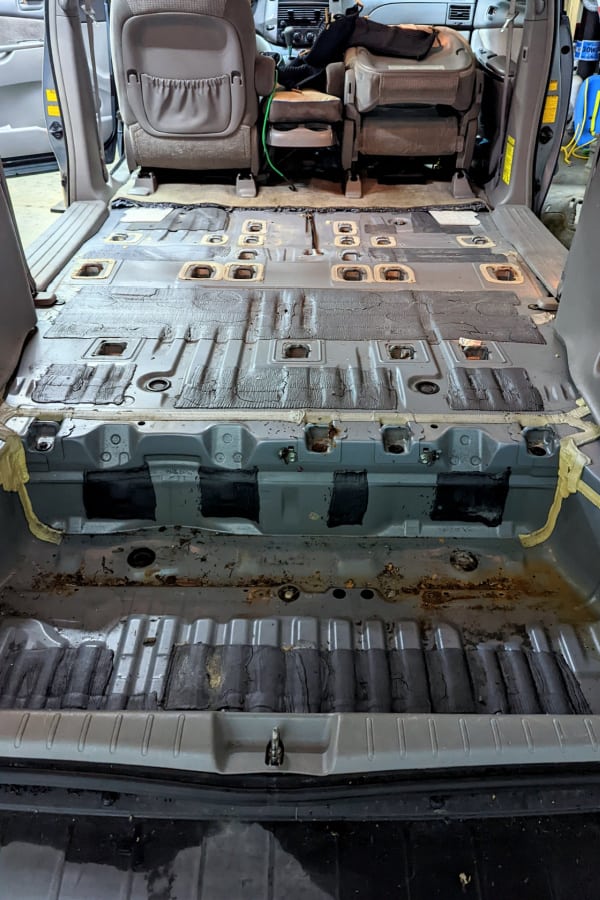
What the Toyota Sienna looked like with the carpet freshly removed
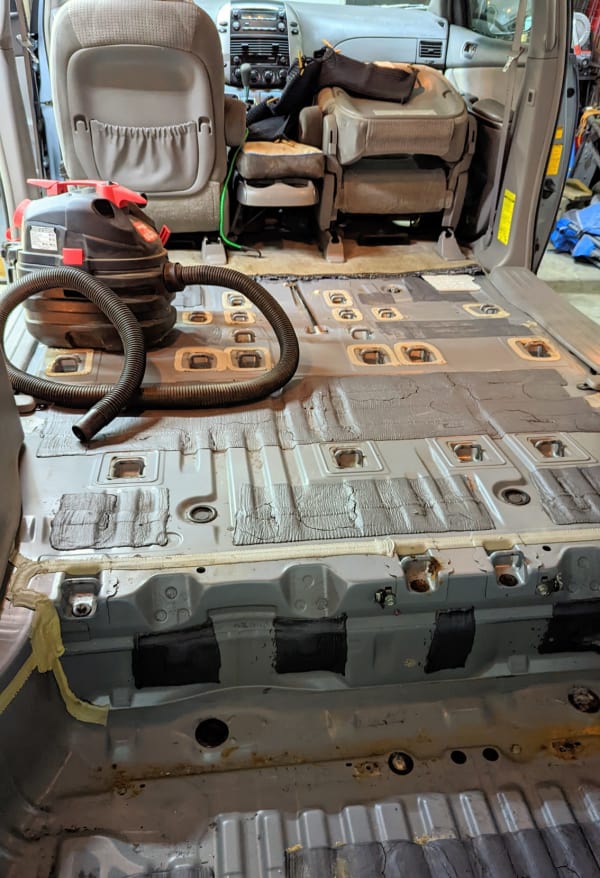
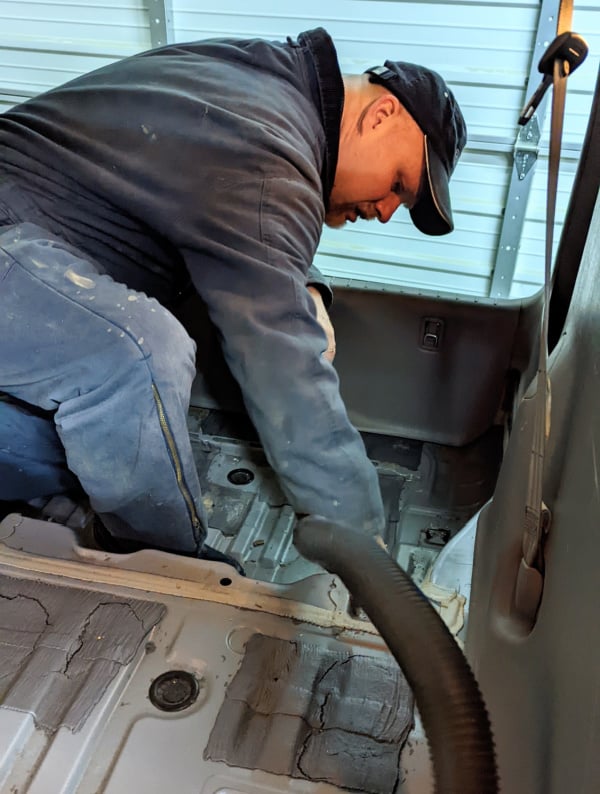
Giving the bare minivan floor a good vacuum
We gave the bare van floor a good vacuum before creating a level surface. Jack used his shop vac for this, but if you don’t have one, a handheld like this one or a house vacuum with a hose attachment would work.
We didn’t take the time to wash the floor, but looking back at the project, it probably is best to give it a good wash. After washing it, allow it to dry thoroughly before moving on to the next step.
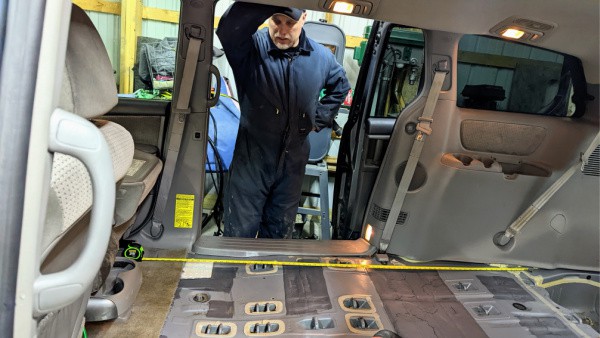
Taking measurements and figuring out how to create a level platform for the flooring
We wanted to use the storage well in the back for additional storage. Jack is working out the length of the new level floor and storage area in the above picture.
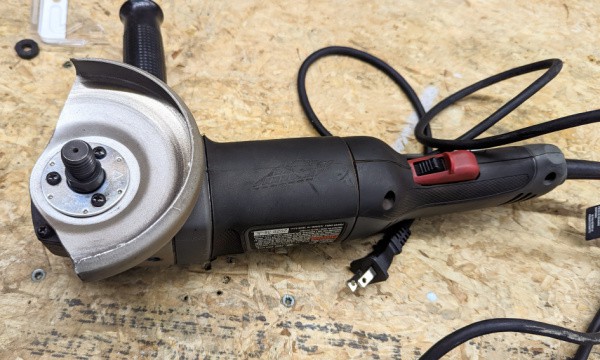
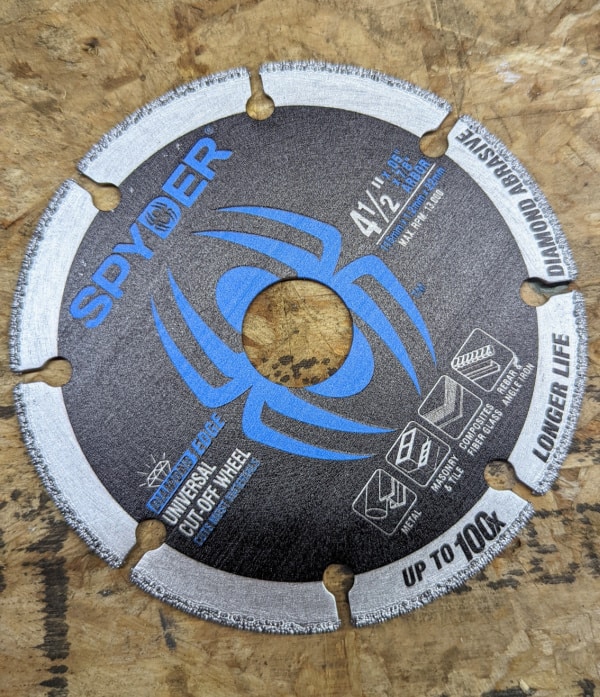
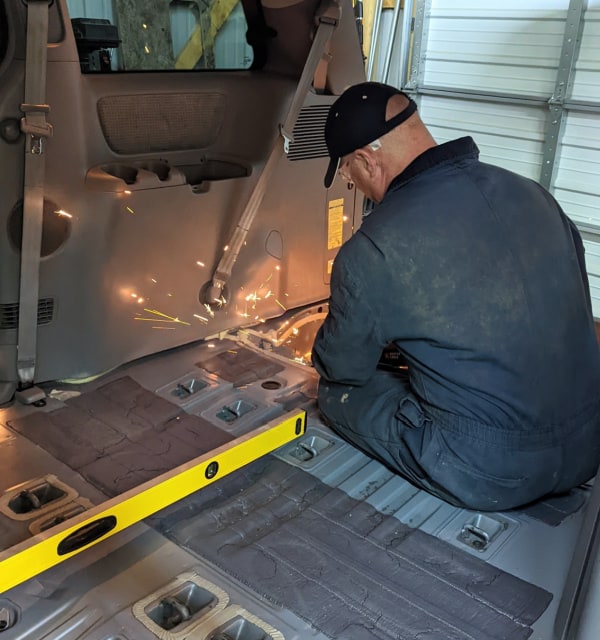
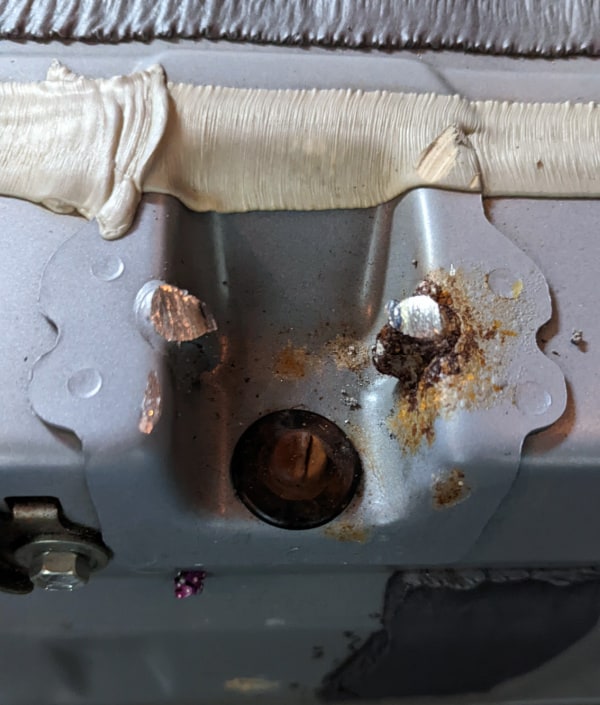
Grinding down the rear seat bolts (you can skip this step if you want)
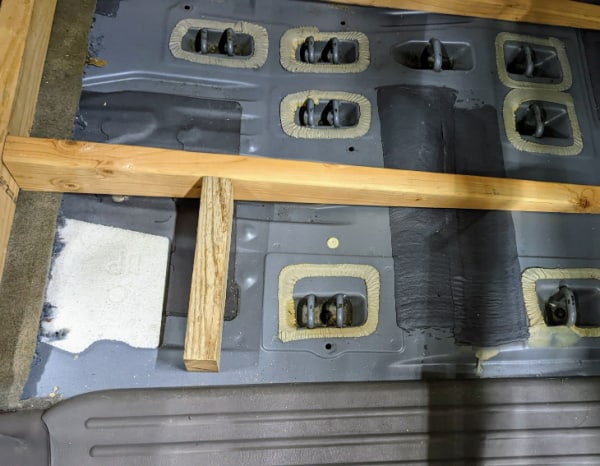
Grinding down the rear seat floor cradle made the minivan’s floor closer to level, thus creating a lower level floor, but it isn’t something you have to do.
We removed the back seat floor cradle using a grinder with a diamond blade. This is a very hard metal and took quite a bit of time. There were also a lot of sparks, so make sure your work area is covered with something non-flammable. Also ensure your skin is covered and you wear eye protection.
If you don’t have the right tools for this or don’t feel comfortable doing this, you can still have a level floor in your van; it will just be an inch or so higher.
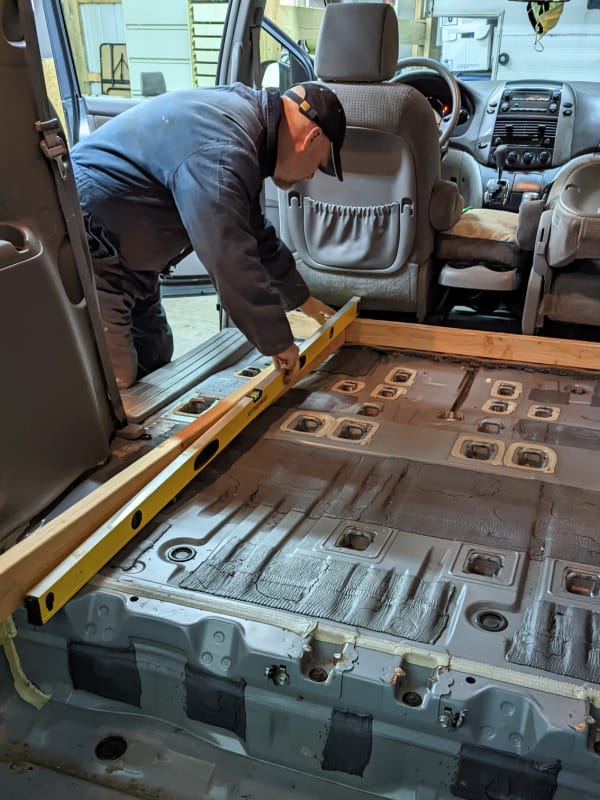
Figuring out the slope of the minivan floor
We figured out the slope of the floor by placing a 2×4 from one end of the van floor behind the driver’s seat to the other end of the floor, near what was the trunk space. Using a long level (or straight edge), draw a pencil line along the bottom edge of the level. This will be your floor slope.
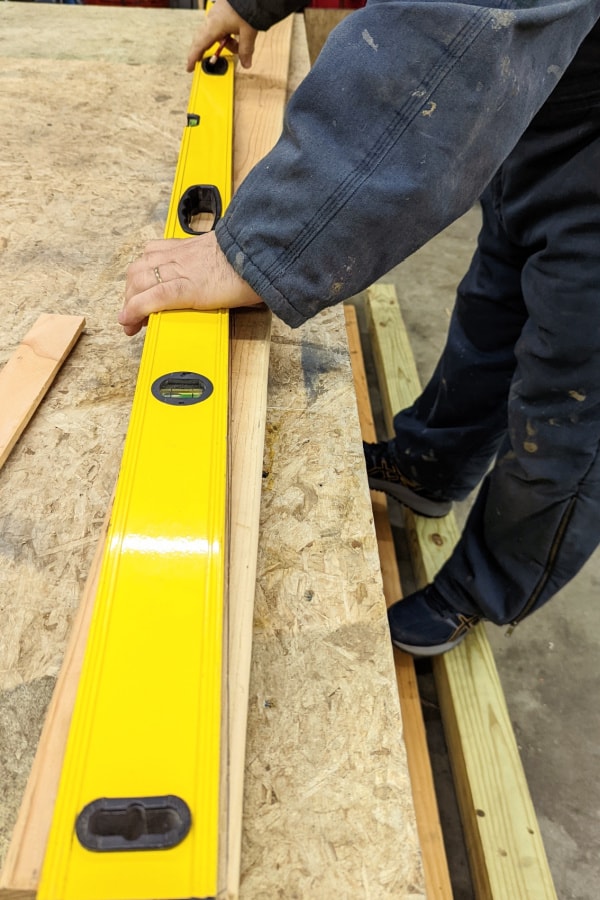
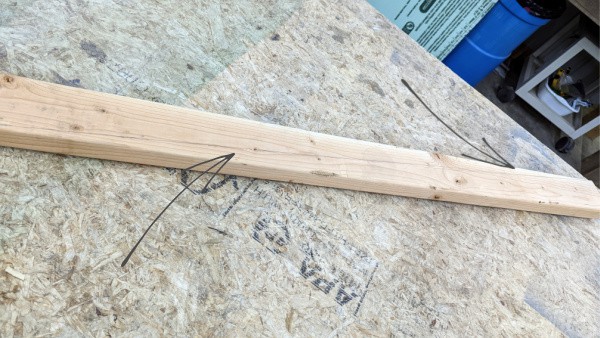
Transferring the slope to what will become the supports for the level minivan floor
The pencil line shown in the above photo is the line of your new floor. Jack did this four times to create four supports.
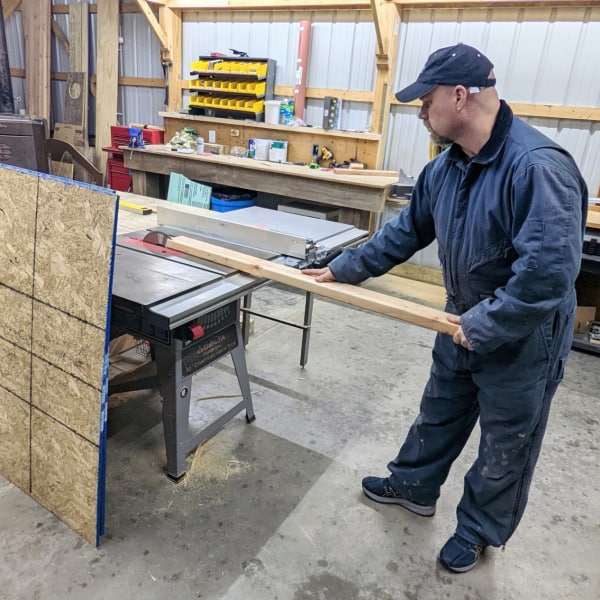
Cutting the slope line on the supports for what will become the level floor in the minivan
Jack used the table saw to cut the lines. A jigsaw or circular saw with a clamped straight edge could also be used. Then the cut pieces are flipped over and screwed into place.
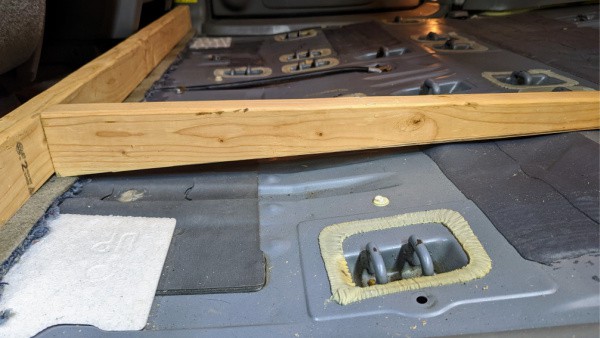
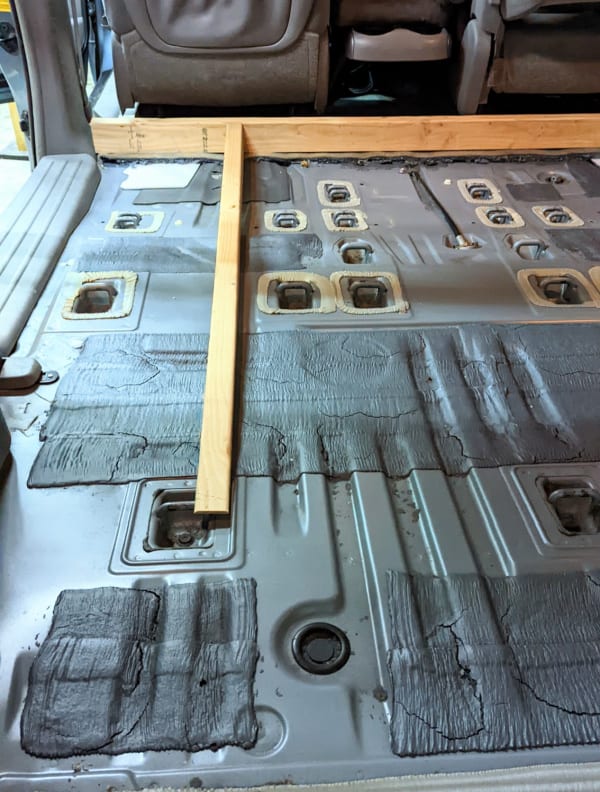
Ensuring the first support provides a level surface for the minivan subfloor to sit on.
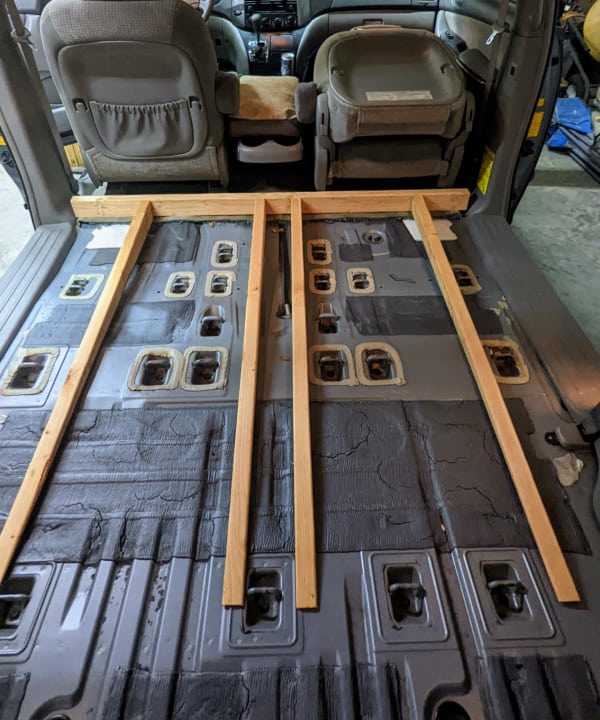
Transferring the slope from one minivan floor support to another until we had four
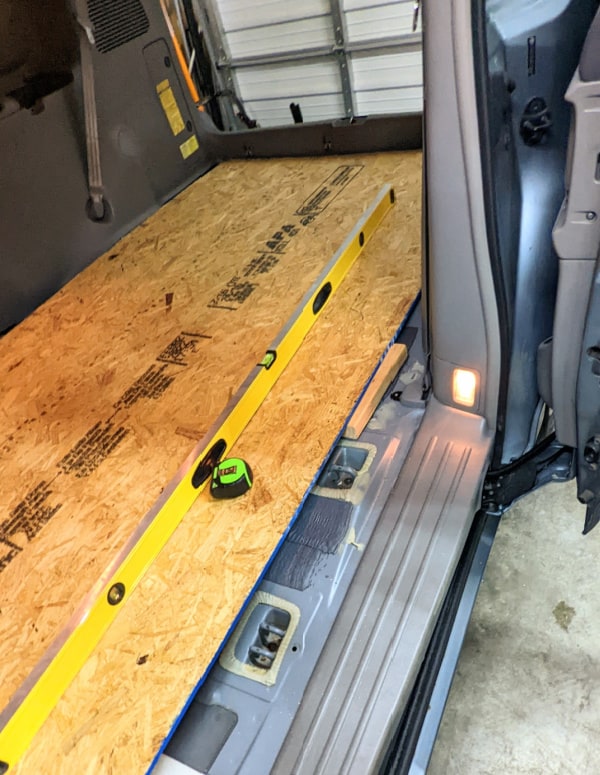
Checking one more time to make sure the floor is level
At this point, we laid down the subfloor to test it, and it came out level. YES!
Creating additional support where the minivan floor widens near the sliding doors
Jack created some additional side supports; to help support the floor and to give him something to attach the side end caps.
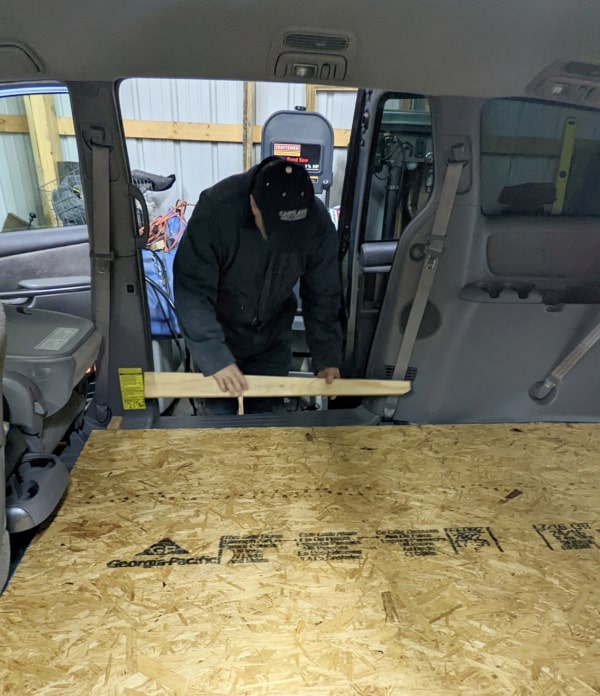
Getting the height right for the side end caps
With the side supports in place, Jack used a piece of plywood cut to length and traced out the subfloor bottom edge using a level and a pencil. He then cut the line using his table saw.
If you are okay with a less finished look, you could leave the sides of the floor open. If you do this, you still have to create the side supports so that the floor doesn’t bend near the side doors whenever pressure is put on it. You might even want to add one more on each side to compensate for the weight the end caps are taking.
No end caps would allow you to store things like shoes under here, which could be an awesome addition if you use this tutorial to create a camper van floor. After all, minivans do not make big camper vans so every inch of storage counts!
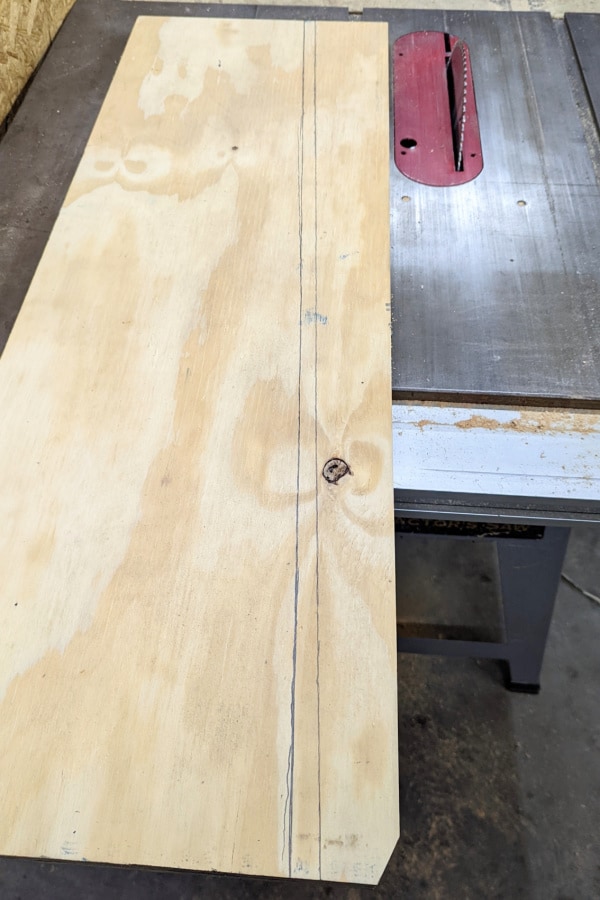
The cut lines for the side end cap near the sliding door of the van
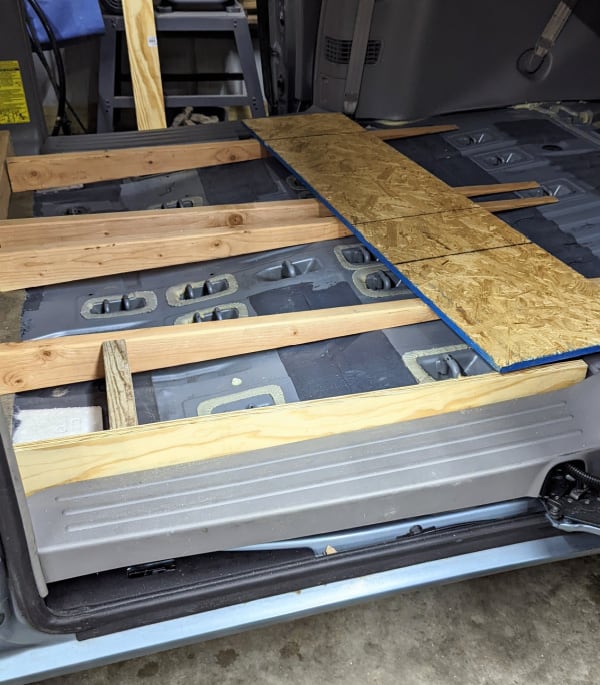
Putting the side end caps in place in preparation for building the side subfloor
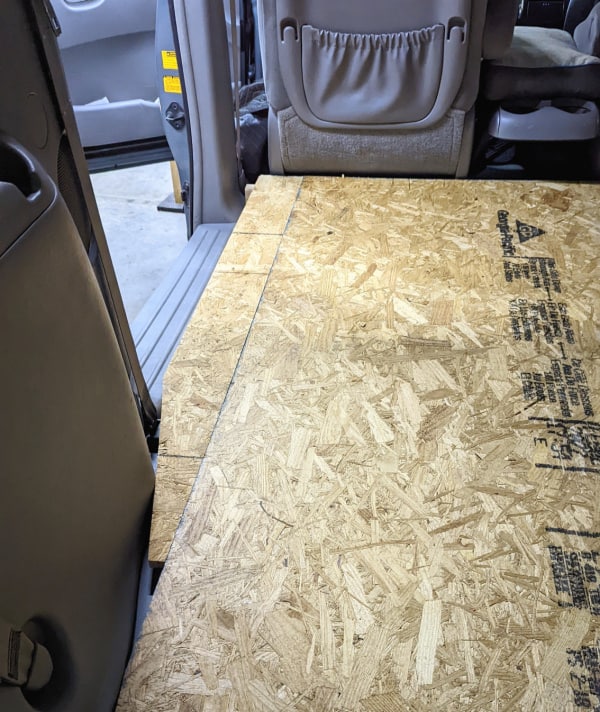
Creating the pieces to cover where the floor widens near the sliding doors
The side pieces are cut out in length and width to fit the remaining space. Jack then screwed the end caps to the side pieces. He also screwed the side pieces to the side support.
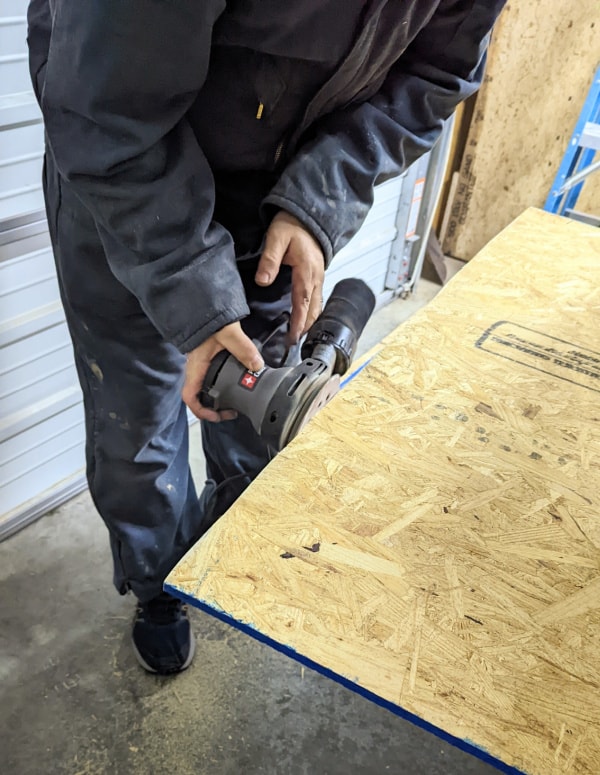
Creating the curve for the trunk area of the minivan
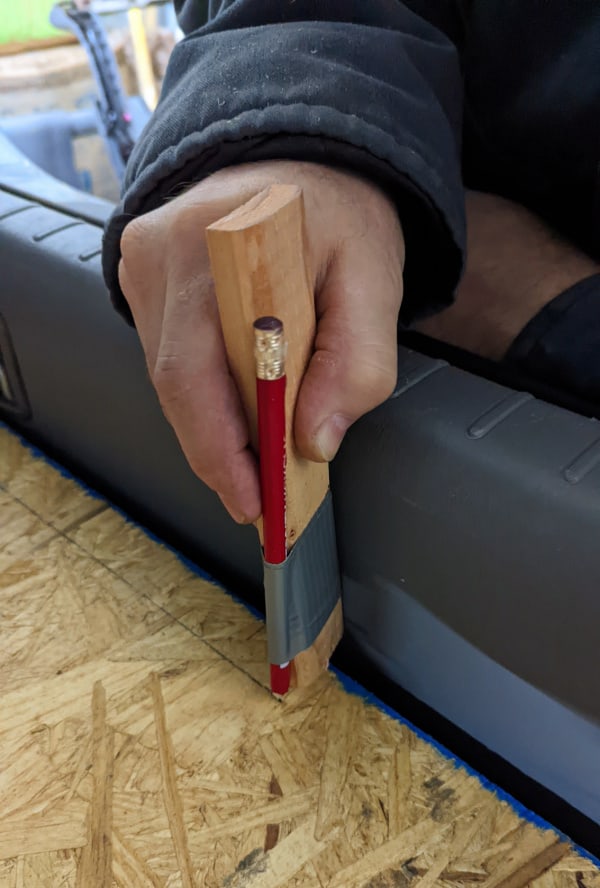
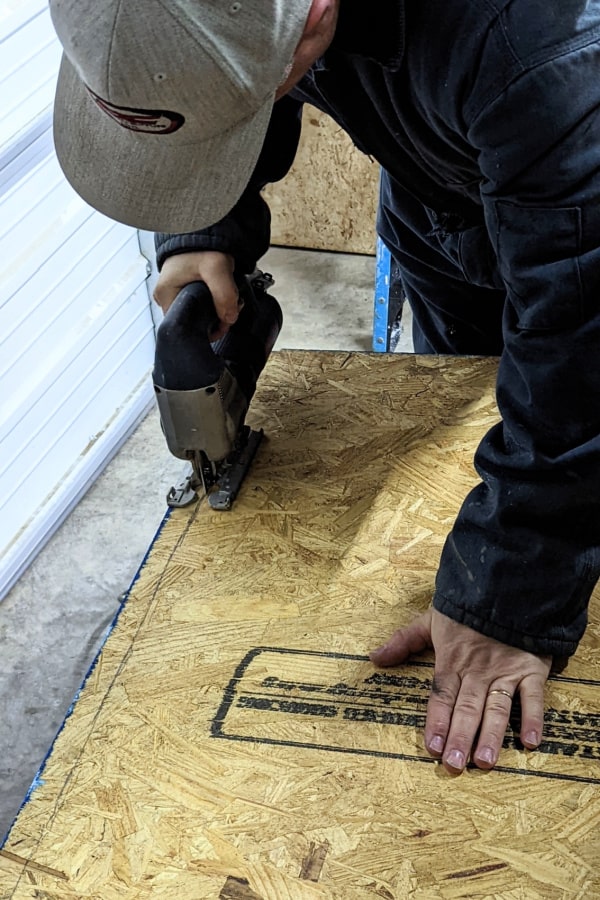
The minivan’s rear edge is curved, so the wood must be cut to shape. Jack used a pencil and a small piece of wood to trace out the curve, which was then cut to shape and sanded flat.
The piece of wood used to hold the pencil needs to be wider than the broadest space in the curve so that the pencil line stays on the wood.
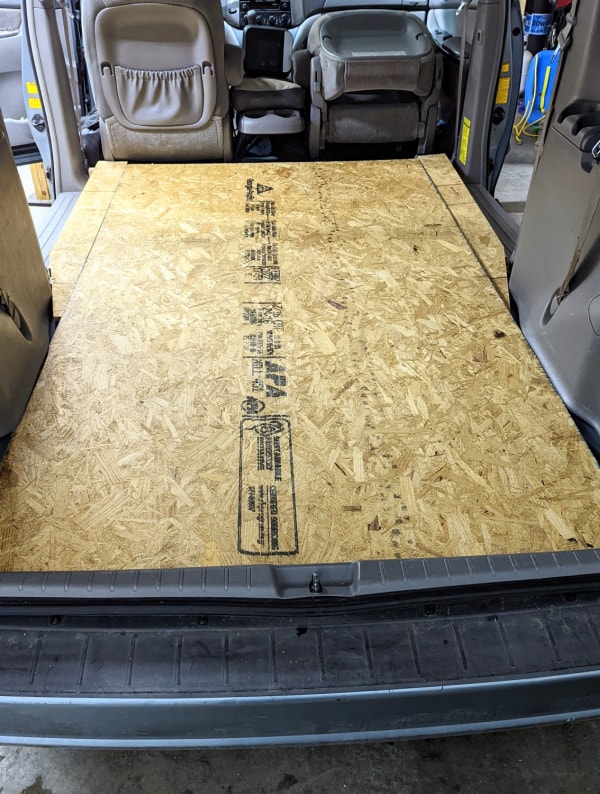
Checking the minivan floor for fit
We put all the pieces in place to check the fit and it worked!
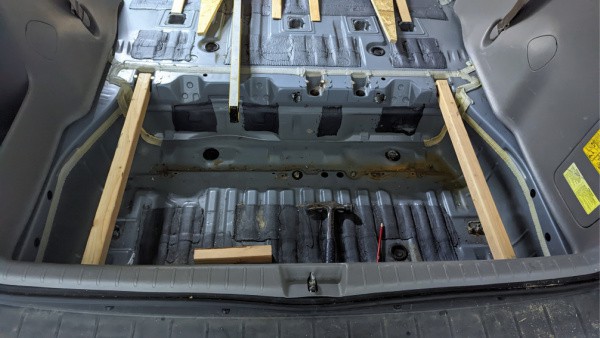
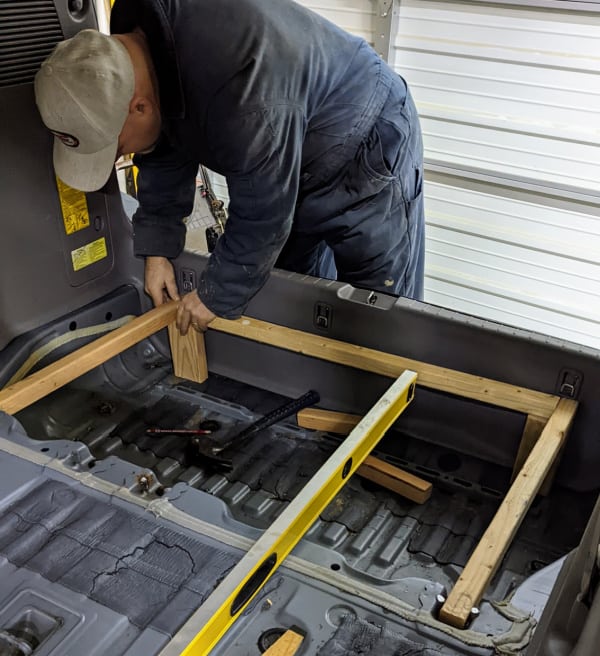
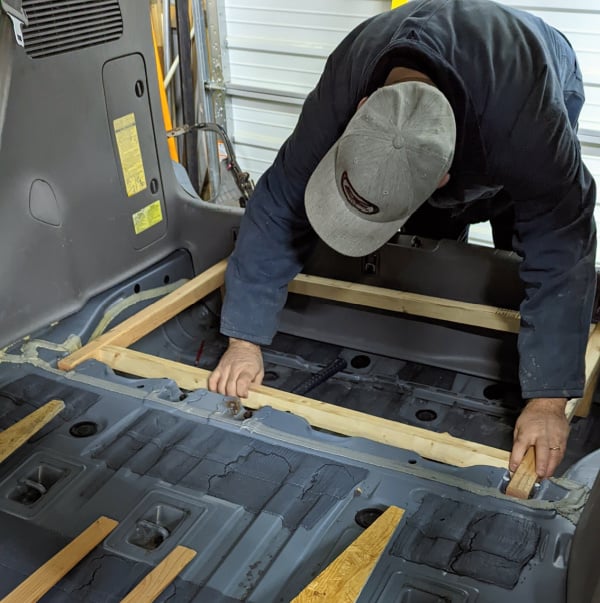
Creating the support for the trunk area of the level minivan floor
Jack used the existing holes from the seat anchors that he cut out earlier as support for the upper frame and then created legs for the lower part of the storage frame around the rear area of the build.
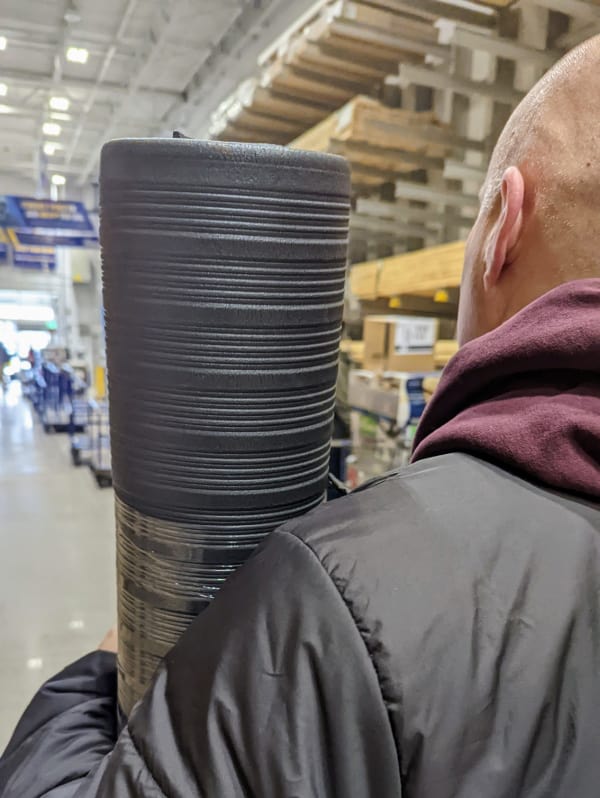
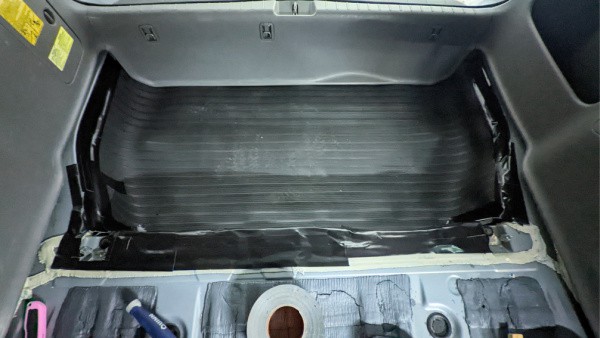
Creating a trunk liner out of rubber matting and duct tape
Jack put rubber matting in the storage area for sound deadening and to help prevent items from sliding around. It was a decent fit, but we still made a few cuts to make it fit the area even better and then taped the edges in place using black duct tape.
Another idea for a liner for the trunk area would be an extra wide yoga mat like this one since it could also be easily molded to the shape of the trunk.
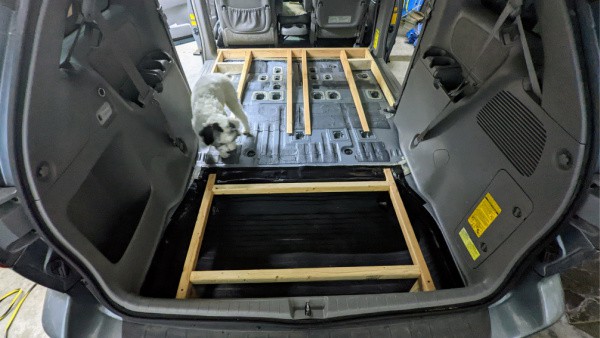
Connecting all the floor support pieces and putting them in place
At this stage, Jack screwed in all the support pieces around where the van trunk lid will sit.
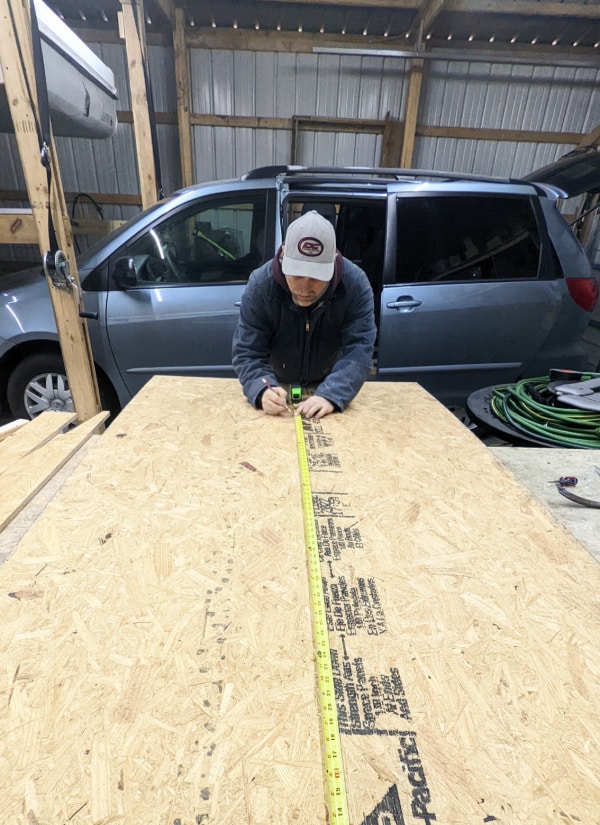
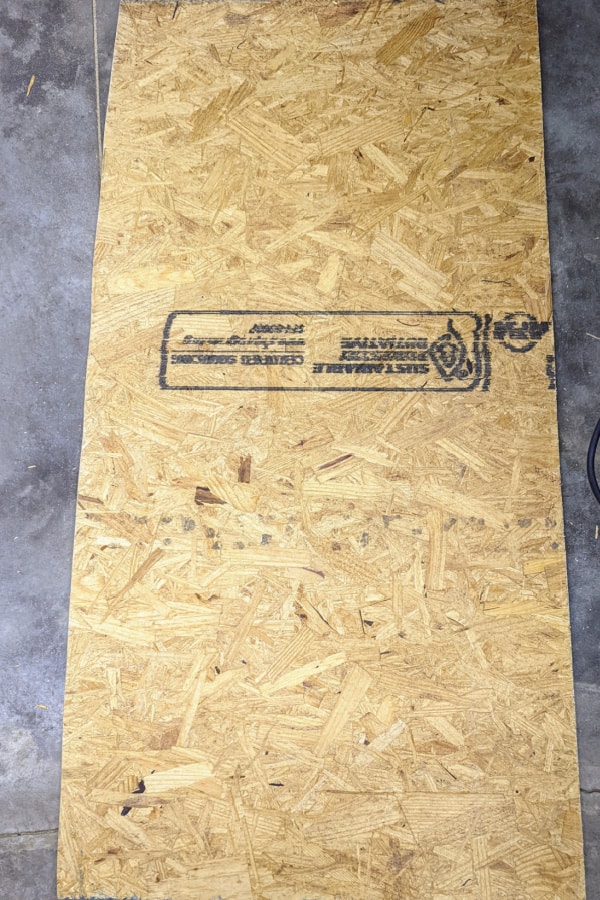
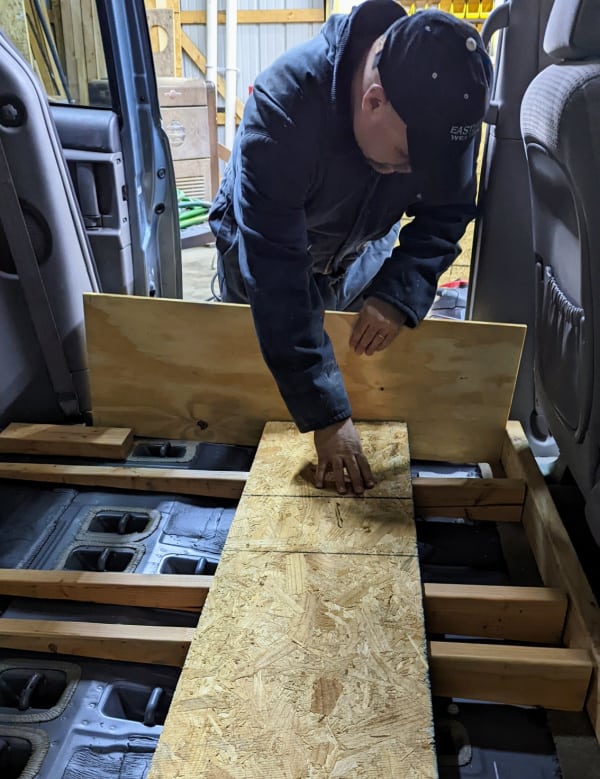
Cutting the trunk lid off the end of the main subfloor piece
Jack measured the main subfloor piece from the edge of the driver and passenger seats to halfway to the rear support of the storage area. Jack used this measurement as the cut line for the storage area lid. He then used a table saw to cut on this line. You could also use a circular saw for this cut.
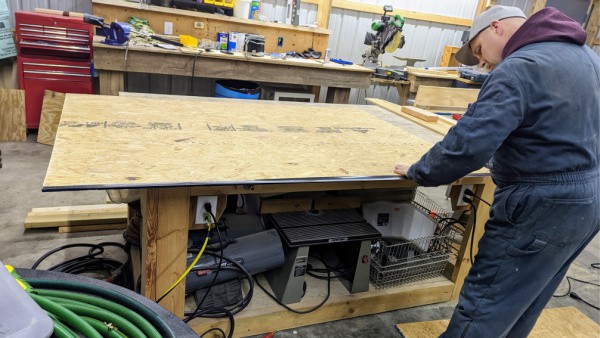
Wrapping the edges of the main floor platform in duct tape
Jack wrapped the edges with duct tape. When I asked him why he told me he wasn’t sure anymore why he did this. So you can skip this step unless you know why one would do this.
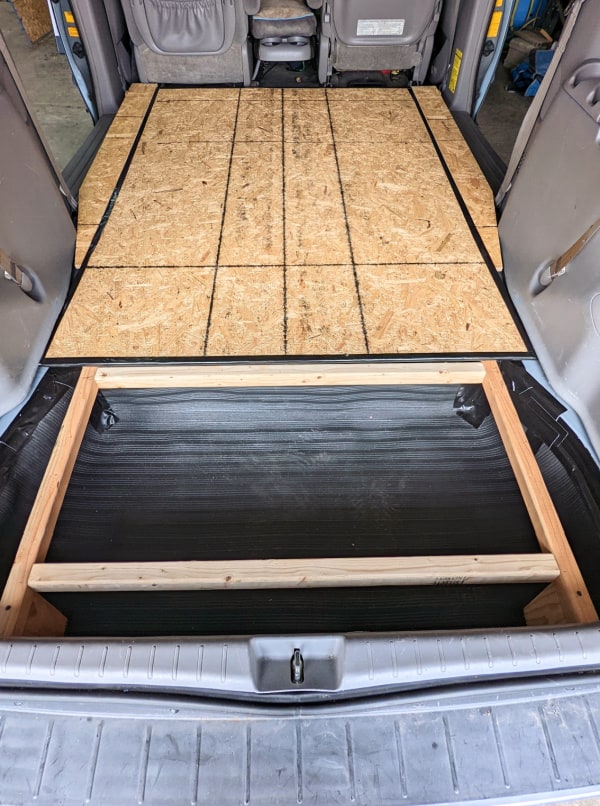
Getting closer to adding the vinyl flooring, but first, the trunk lid
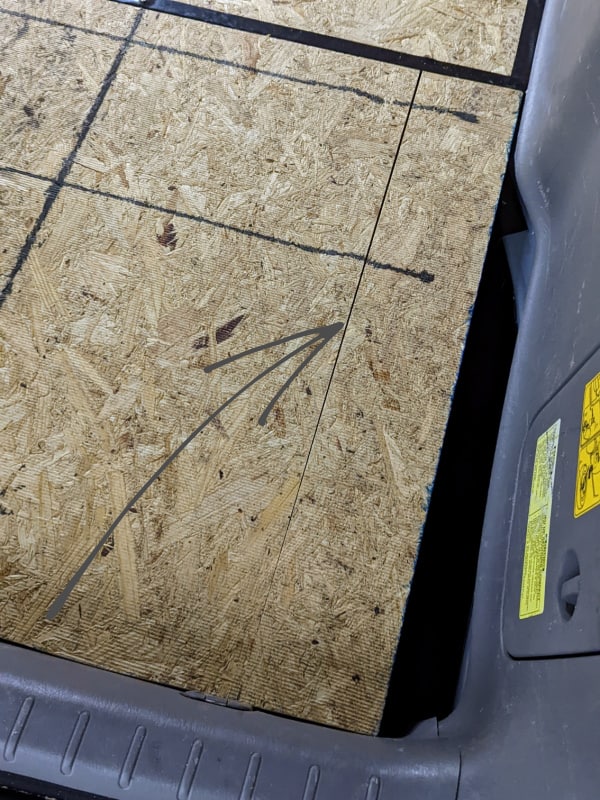
First, cut off a portion of each side of the trunk piece
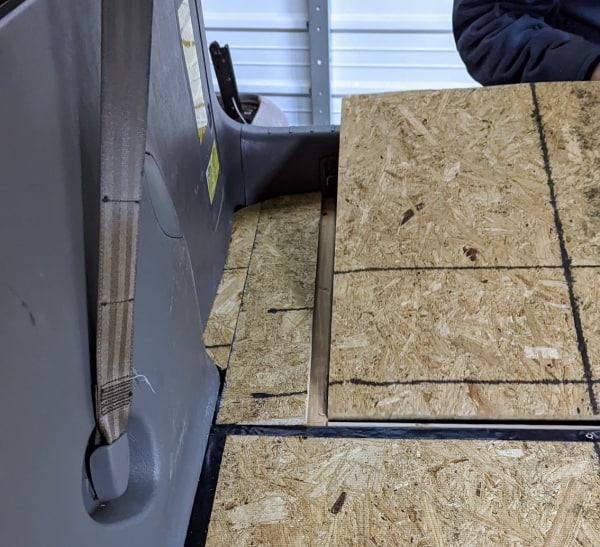
Now to fill the last hole in the trunk portion of the level minivan floor
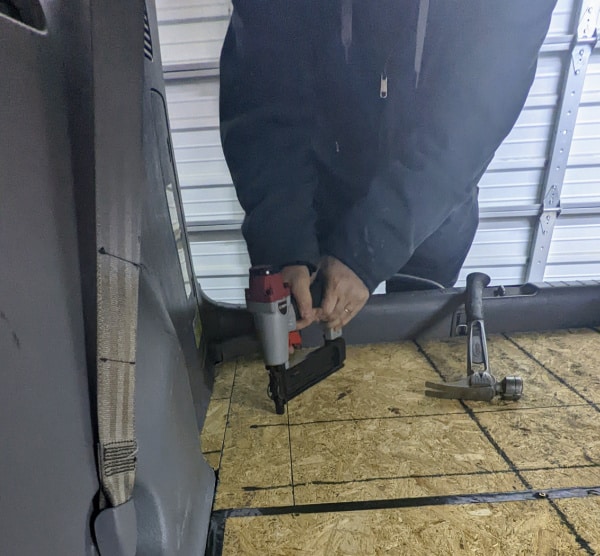
Time to nail the sides of the trunk portion of the DIY level floor into place
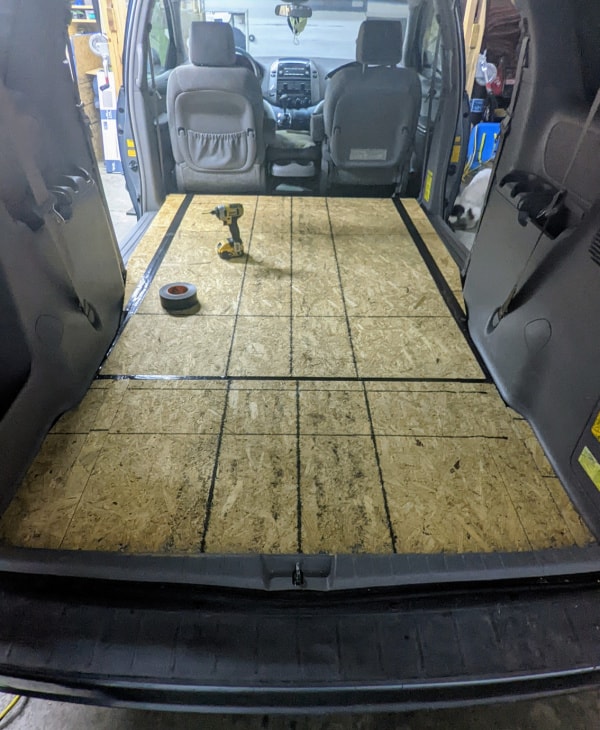
FINALLY! We have a level minivan floor that is ready for the flooring
Flooring Choices
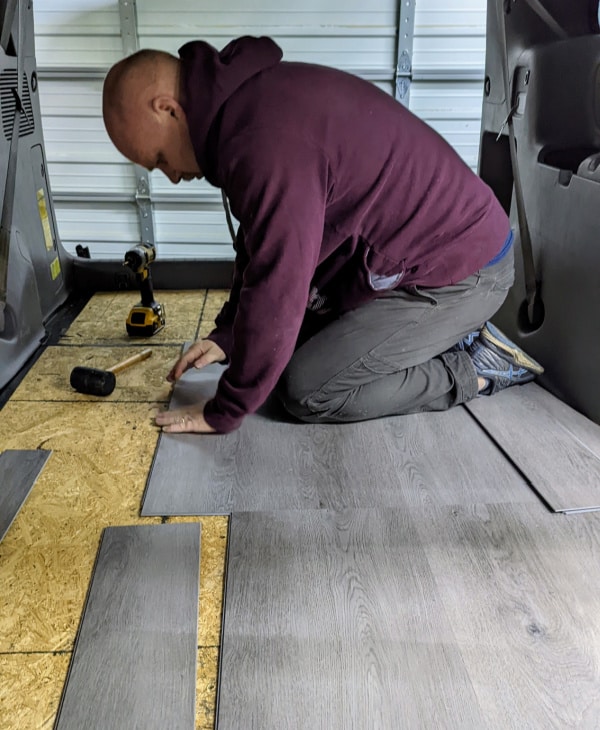
We chose waterproof vinyl tongue and groove plank flooring (similar to this) that snapped into place. But there are other flooring options.
Linoleum–since a van is small, you could get away with buying a remnant of high-quality linoleum. Use cardboard or a large and wide paper roll to create a template. Cut the flooring to size and use an adhesive to adhere it to the subfloor. The problem with lino is that it is somewhat soft, making it prone to nicks.
Outdoor carpeting–You can install outdoor carpet similarly to linoleum. It is softer on the feet, which would be a plus for those creating camper van flooring, but it also gathers small granules of dust and dirt in its fibers -requiring frequent sweeping or vacuuming.
Foam Flooring Squares–these are very easy to cut and remove should you need to replace one. However, water can seep into the seams, which can be a recipe for mold.
Plywood Flooring–you could sand, clean, stain, and then apply several coats of polyurethane to the plywood subfloor and leave it. Throw a rug on top for more comfort if you want. This is probably the cheapest, although the most time-consuming option, but it doesn’t always wear well.
Whatever you choose, you want to think about durability and how easy it will be to clean. You also want to think about the weight it adds to the build, which is one of several reasons why hardwood floors are not a great option.
Laminate flooring is easy to install, but it isn’t waterproof, and if moisture gets trapped below it, the floor will buckle, and you may end up with mold issues.
Making a paper pattern for the difficult cuts
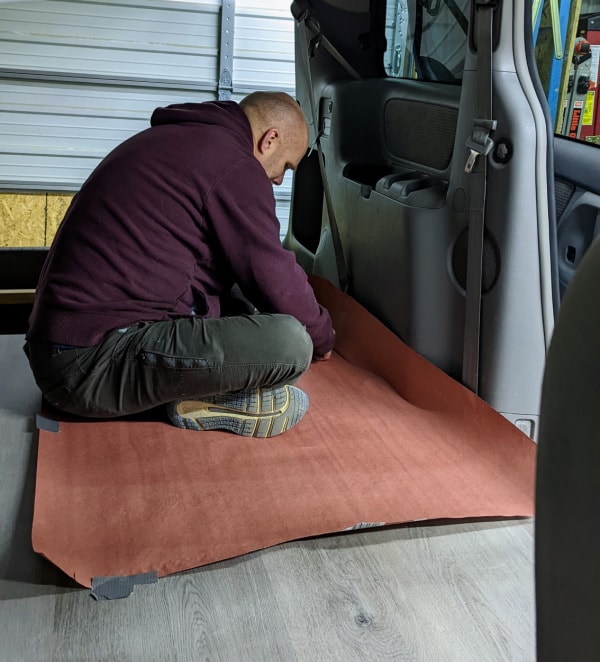
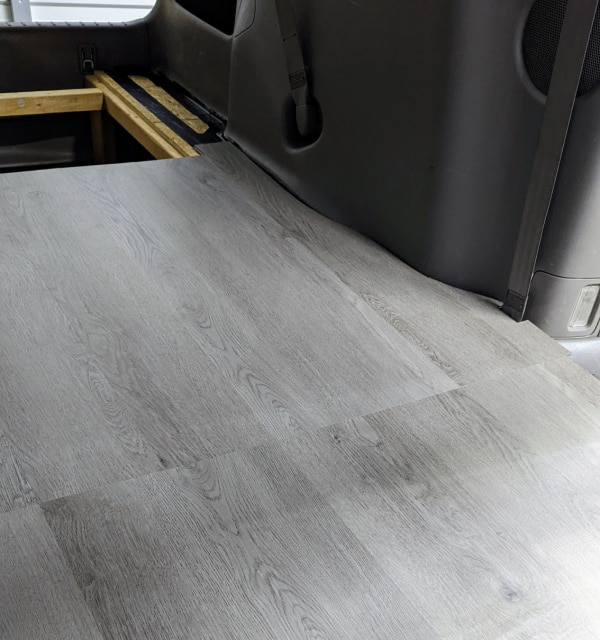
Jack used butcher’s paper to make a pattern. He then placed that pattern on top of the flooring and traced it onto the flooring; finally, he used a jigsaw to cut the pattern out.
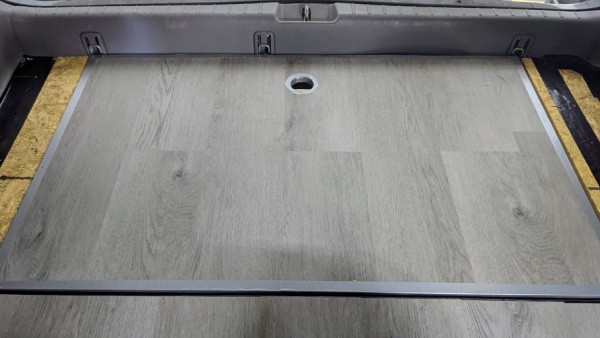
Flooring the trunk lid
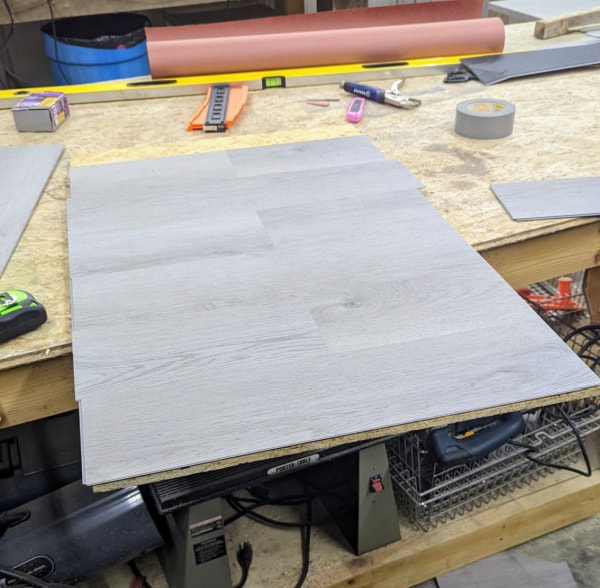
Jack placed the flooring on the storage lid. Cut it to shape and covered the edges with duct tape to keep it in place. He drilled a finger hole to make access to the trunk easier. Be careful not to drill the hole where the support frame is, as it will make it harder to open.
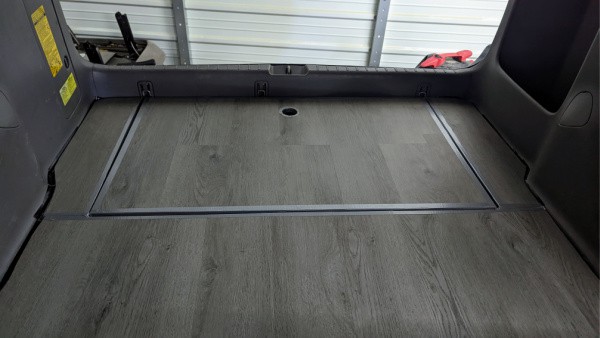
Finishing off the side of the trunk area of the minivan level floor project
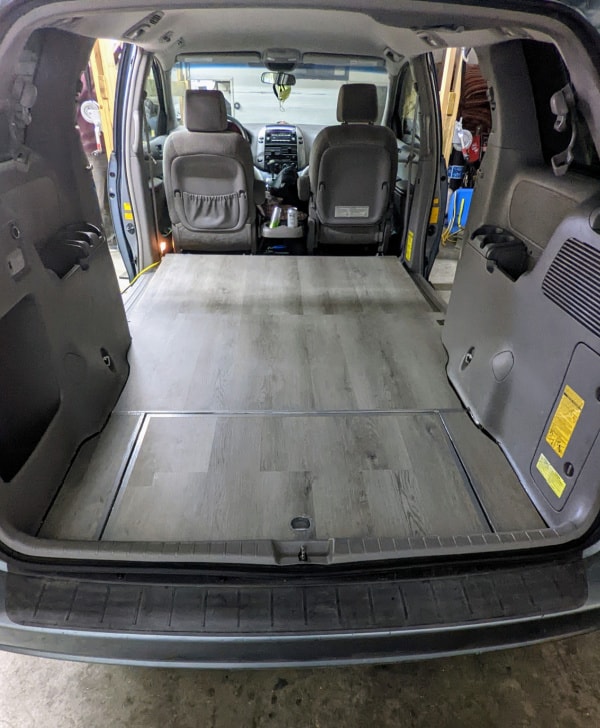
Almost done!
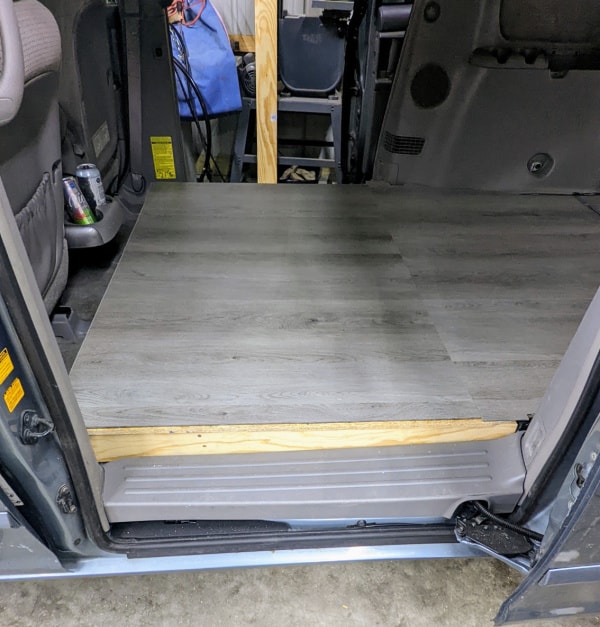
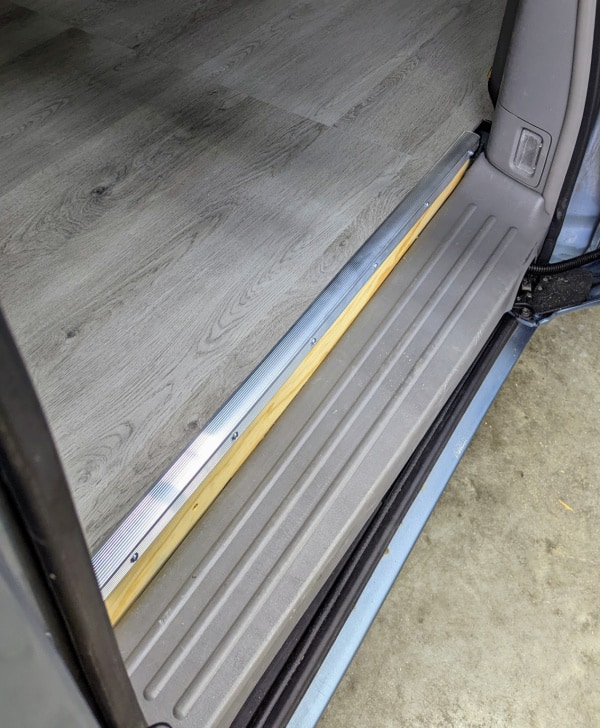
Finishing off the edge near the sliding doors
We used aluminum stair edging for the sliding door. This keeps the floor in place and provides an excellent wearing edge for loading objects into the van.
If you want to make things look even more finished, you could spray paint the wood a similar color to your flooring choice so it blends in.
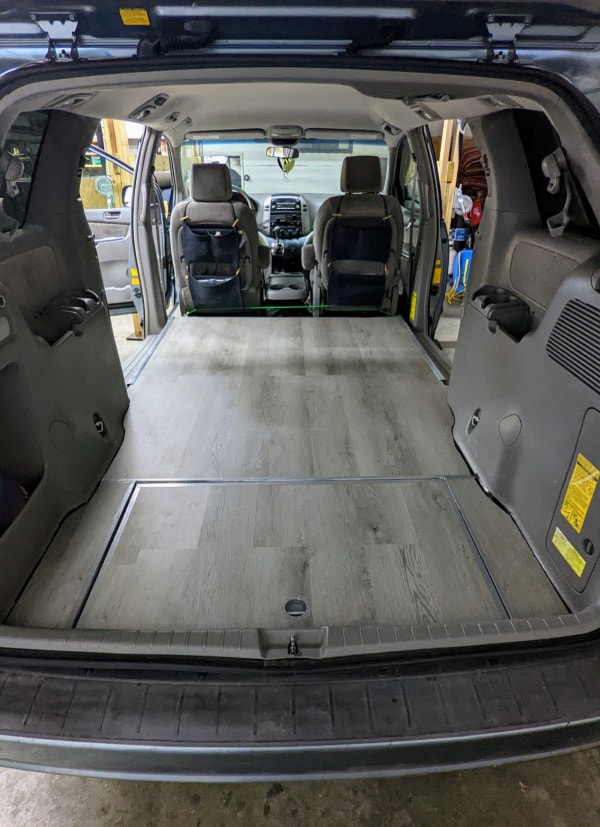
Now it is done!
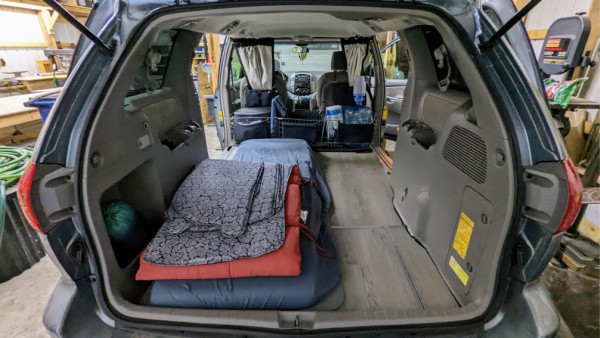
Our daughter quickly created a no-build minivan camper.
Before we even had it out of the garage, our daughter was already adding the items she needed to take it camping for the weekend.
Here is the list of the basic things she threw in to go minivan camping
- Window covers for privacy–she and I made these, but you can purchase them for certain makes and years.
- A 4-inch thick memory foam folding mat–we have had these for years and LOVE THEM. They are super comfortable and since they fold into three, they are easy to store.
- Pillows and blankets
- A five-gallon jug with a manual pump–these are great not just for drinking water but also for rinsing off dishes and hands.
- Basic kitchen supplies
- A portable battery bank capable of charging her cell phone several times.
- A cooler filled with food.
A little while later, the minivan was used as a cargo van.
My husband and I have been working on a home we bought for a steal of a deal that needs a lot of repairs (which is why it was dirt cheap).
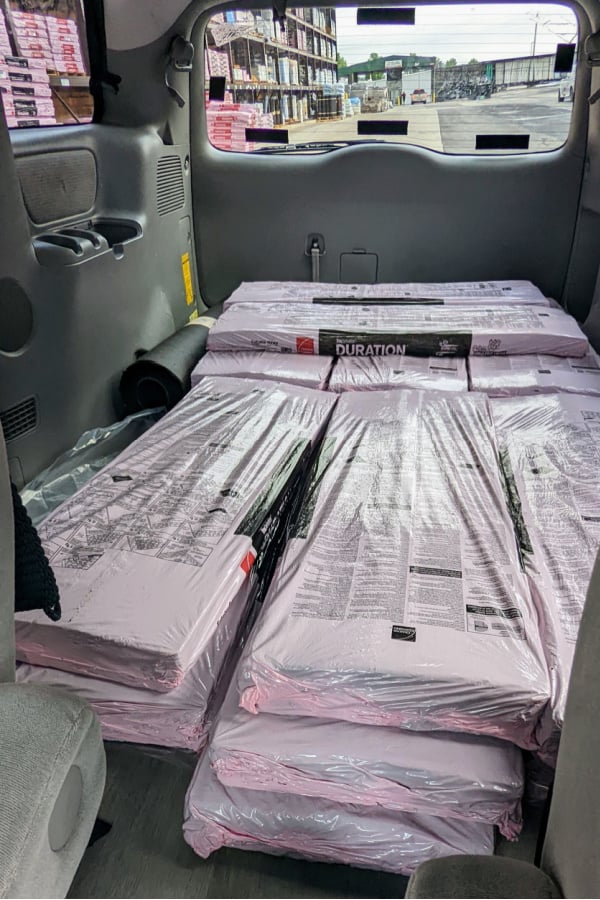
He and a few helpers were working on the roof when they realized they would soon run out of shingles. Instead of my husband having to stop work to drive 30 minutes into town with his truck to grab some, he called me and I could drive the van and pick them up while he kept working.
It was so nice not to have to take out the middle row of seats and drop the back row before driving to the hardware store.
Trucks are super expensive and cargo vans in good repair are hard to find on the second-hand market. Minivans are much less expensive than trucks or cargo vans and commonly found on the used vehicle market.
So next time you need either a camper van or a cargo van or perhaps even a truck and your budget is tight; see if perhaps a minivan could work for you instead. All you need is a level floor; now you have the tutorial to make that happen.
Leave a Reply